
如何使用 Deno 构建 GraphQL 服务器

GraphQL 是一种流行的 API 构建方法,因为它能让开发者轻松地只访问所需数据,从而节省带宽并减少瀑布式请求,最终提高客户端性能。
在本教程中,我们将向您展示如何使用 Deno 构建一个 GraphQL API 服务器。
您也可以在本教程中,将 Apollo 与 npm specifiers 结合使用。但是请注意,`npm` specifiers 尚未在 Deno Deploy 上提供。
Hello, World!
让我们用 Deno 设置一个 GraphQL 的“Hello, World!”示例。
我们将创建一个名为 `hello_world_server.ts` 的空文件,并添加我们的依赖项。
import { Server } from "https://deno.land/std@0.166.0/http/server.ts";
import { GraphQLHTTP } from "https://deno.land/x/gql@1.1.2/mod.ts";
import { makeExecutableSchema } from "https://deno.land/x/graphql_tools@0.0.2/mod.ts";
import { gql } from "https://deno.land/x/graphql_tag@0.0.1/mod.ts";
我们将在下面看到它们各自的作用,但简单来说
- `Server` 构建我们的 HTTP 服务器
- `GraphQLHTTP` 使用我们指定的 schema 创建 GraphQL HTTP 中间件
- `makeExecutableSchema` 基于我们的类型定义和解析器创建 schema
- `gql` 创建我们的类型定义
首先,让我们使用 `gql` 设置类型和解析器
const typeDefs = gql`
  type Query {
    hello: String
  }
`;
在这里,我们的 `Query` 类型有一个“hello”字段,它的类型是 `String`。一旦有了类型,我们还需要为该 `Query` 提供一个解析器。解析器负责处理查询(Queries)和变更(Mutations)的功能。
在这种情况下,我们希望我们的 Query 只打印“Hello, World!”
const resolvers = {
  Query: {
    hello: () => `Hello, World!`,
  },
};
为了与我们的服务器协同工作,我们需要将类型和解析器组合成一个 schema。我们可以使用 `makeExecutableSchema` 来完成此操作
const schema = makeExecutableSchema({ resolvers, typeDefs });然后,schema 对象将被传递给 `GraphQLHTTP`,后者位于我们的主 HTTP 服务器内部
const server = new Server({
  handler: async (req) => {
    const { pathname } = new URL(req.url);

    return pathname === "/graphql"
      ? await GraphQLHTTP<Request>({
        schema,
        graphiql: true,
      })(req)
      : new Response("Not Found", { status: 404 });
  },
  port: 3000,
});
因此,主要包装器是一个新的 `Server` 对象。其中包含一个 `handler`,用于处理来自浏览器的请求。我们获取 URL,如果它包含 `/graphql`,则运行 `GraphQLHTTP` 中间件,传入我们的 schema 并将 `graphiql` 设置为 `true`(您也可以不使用 `graphiql`,而是使用 Postman/Insomnia 或直接 `curl`)。
如果不是 `/graphql` 页面,则返回 404 状态并打印“未找到”消息。
最后一行将启动服务器,监听我们分配的端口(3000)
server.listenAndServe();使用 `--allow-net` 标志运行此命令,以确保我们有网络访问权限
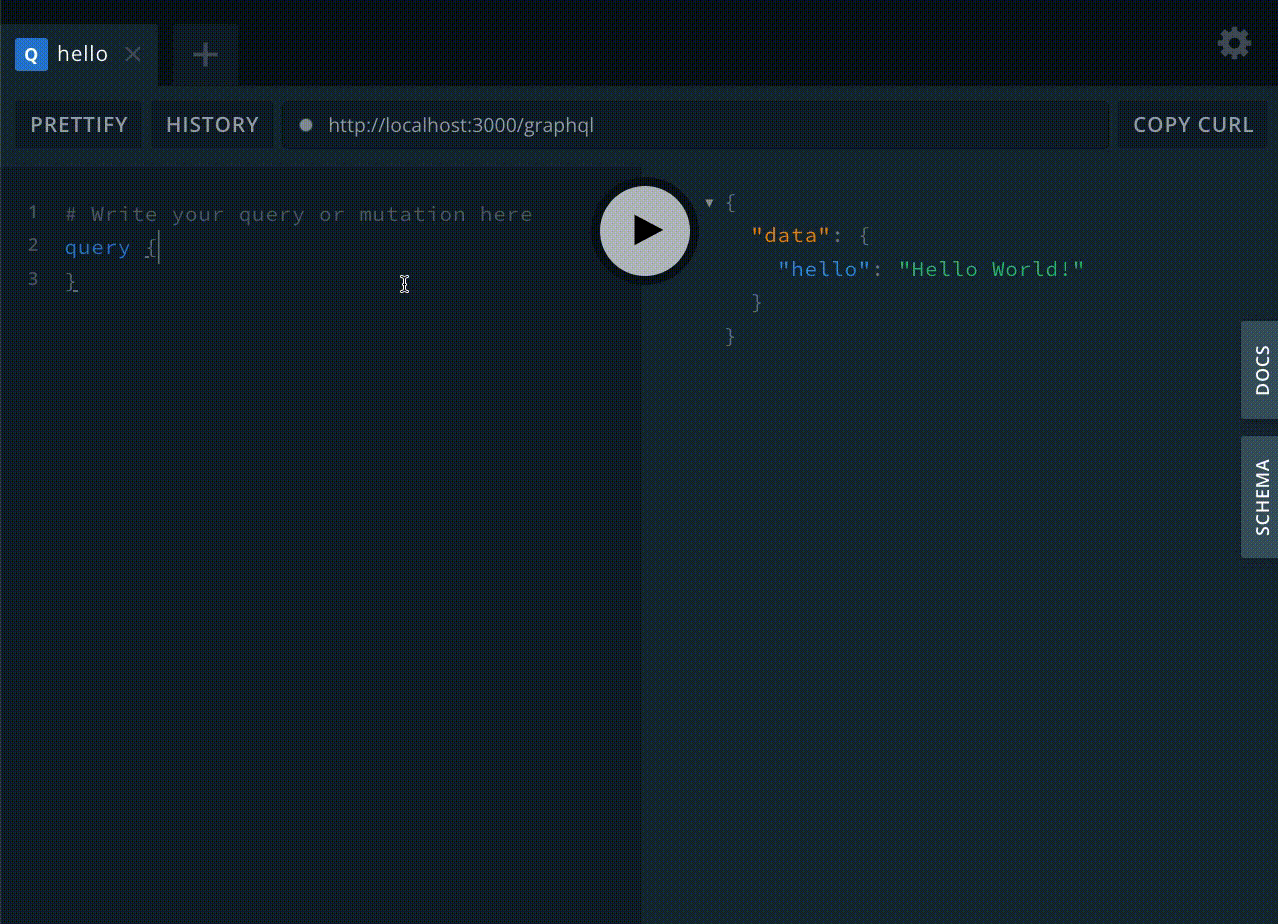
$ deno run --allow-net hello_world_server.ts然后如果我们访问 localhost:3000/graphql,我们将看到 graphiql 界面
然后您可以运行查询
query {
  hello
}
并接收响应
{
  "data": {
    "hello": "Hello World!"
  }
}
就这样,您就可以使用 GraphQL 了!
Hello, (史前)世界!
这一切都很好,但 GraphQL API 之所以如此强大,是因为它能与数据进行交互。让我们扩展我们的示例,以便我们可以查询数据、选择接收哪些响应,并将数据插入到我们的数据库中。
所以,让我们设置一个后端数据库,并加载一些可以查询和添加的数据。
对于我们的数据存储,我们将使用 Postgres(您可以按照此处的教程在 Supabase 上设置一个 Postgres 实例 → 连接到 Postgres)。
接下来,让我们向数据库添加一些极其重要的数据:dinosaurs.json。
除了添加一个变更(Mutation,这是在 GraphQL 中添加数据的方式)之外,我们的“Hello, World!”示例几乎不需要任何改动即可使其工作。但我们将重构代码,使我们的项目更整洁。
首先,我们将创建一个 `typedefs.ts` 文件,并将我们的类型和 `gql` 导入移到那里
import { gql } from "https://deno.land/x/graphql_tag@0.0.1/mod.ts";

export const typeDefs = gql`
  type Query {
    allDinosaurs: [Dinosaur]
    oneDinosaur(name: String): Dinosaur
  }

  type Dinosaur {
    name: String
    description: String
  }

  type Mutation {
    addDinosaur(name: String, description: String): Dinosaur
  }
`;
我们现在还需要定义一些其他类型
- 我们的两个查询(Queries)是 `allDinosaurs` 和 `OneDinosaur`。`allDinosaurs` 返回一个列表(由方括号表示)。`OneDinosaur` 返回一个 `Dinosaur`。
- `Dinosaur` 是我们从查询(Queries)中返回的对象,它包含一个字符串(String)名称和描述。
- `addDinosaur` 是我们的变更(Mutation),用于向数据库添加一个带有名称和描述的 `Dinosaur`。
我们还将把查询(Query)和变更(Mutation)解析器移到 `resolvers.ts` 文件中,因为它们现在包含更多功能。`resolvers.ts` 也是我们连接到 Postgres 的地方。
所以我们首先需要导入我们的 Postgres 库
import * as postgres from "https://deno.land/x/postgres@v0.14.2/mod.ts";然后我们可以构建连接 Postgres 的函数
const connect = async () => {
  // Get the connection string from the environment variable "DATABASE_URL"
  const databaseUrl = Deno.env.get("DATABASE_URL")!;

  // Create a database pool with three connections that are lazily established
  const pool = new postgres.Pool(databaseUrl, 3, true);

  // Connect to the database
  const connection = await pool.connect();
  return connection;
};
我们可以使用 `Deno.env.get()` 访问环境变量(我们将使用 `--allow-env` 标志来启用对 Postgres 环境变量的访问)。在这里,我们的 `DATABASE_URL` 是存储的 Postgres 连接字符串。然后,我们创建一个连接池并连接到数据库。
然后我们可以定义我们的查询(Query)和变更(Mutation)函数。我们将创建两个查询函数,一个用于获取数据库中所有恐龙的列表(`allDinosaurs`),另一个则根据名称获取单个恐龙(`oneDinosaur`)
const allDinosaurs = async () => {
  const connection = await connect();
  const result = await connection.queryObject`
          SELECT name, description FROM dinosaurs
        `;
  return result.rows;
};

const oneDinosaur = async (args: any) => {
  const connection = await connect();
  const result = await connection.queryObject`
          SELECT name, description FROM dinosaurs WHERE name = ${args.name}
        `;
  return result.rows;
};
`allDinosaurs` 连接到数据库并返回其中所有 `Dinosaurs` 的列表。`oneDinosaur` 类似但
- 它接受一个参数,该参数将是我们想要的 `Dinosaur` 的名称
- 它使用该参数名称来查询数据库以获取指定的 `Dinosaur`
我们还有一个变更(Mutation)函数,用于向数据库添加 `Dinosaur`
const addDinosaur = async (args: any) => {
  const connection = await connect();
  const result = await connection.queryObject`
            INSERT INTO dinosaurs(name, description) VALUES(${args.name}, ${args.description}) RETURNING name, description
        `;
  return result.rows[0];
};
一旦所有函数都就位,我们就可以在解析器中引用它们
export const resolvers = {
  Query: {
    allDinosaurs: () => allDinosaurs(),
    oneDinosaur: (_: any, args: any) => oneDinosaur(args),
  },
  Mutation: {
    addDinosaur: (_: any, args: any) => addDinosaur(args),
  },
};
将解析器和类型定义从主文件(我们将重命名为 `server.ts`)中移出后,我们需要将它们导入到该文件中,但 `server.ts` 的其余部分可以保持不变
import { Server } from "https://deno.land/std@0.166.0/http/server.ts";
import { GraphQLHTTP } from "https://deno.land/x/gql@1.1.2/mod.ts";
import { makeExecutableSchema } from "https://deno.land/x/graphql_tools@0.0.2/mod.ts";
import { resolvers } from "./resolvers.ts";
import { typeDefs } from "./typedefs.ts";

const schema = makeExecutableSchema({ resolvers, typeDefs });

const server = new Server({
  handler: async (req) => {
    const { pathname } = new URL(req.url);

    return pathname === "/graphql"
      ? await GraphQLHTTP<Request>({
        schema,
        graphiql: true,
      })(req)
      : new Response("Not Found", { status: 404 });
  },
  port: 3000,
});

server.listenAndServe();
这次运行 `server.ts` 时,我们还需要 `--allow-env` 标志才能让 Postgres 正常工作
deno run --allow-net --allow-env server.ts如果我们访问 localhost:3000/graphql,我们将像以前一样看到 graphiql 界面,但这次,自动补全将包含我们新的查询(Queries)和变更(Mutation)选项,例如查询 `allDinosaurs`
query {
  allDinosaurs {
    name
    description
  }
}
这将生成数据库中所有恐龙的列表
请记住,GraphQL 的一个亮点是最终用户可以选择他们想要请求的数据。在这种情况下,我们可以选择只检索 `names`

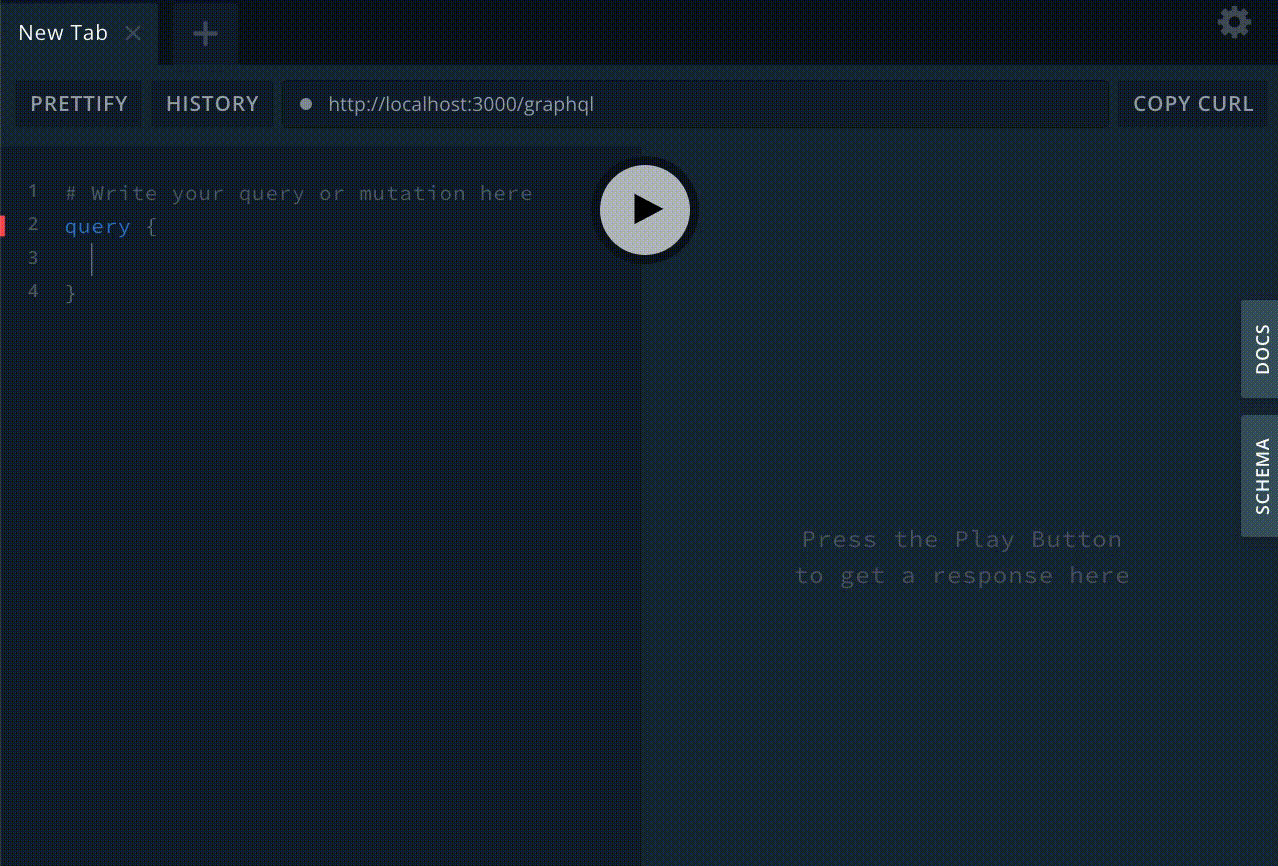
我们还可以运行 `oneDinosaur` 查询(Query)以获取单个恐龙
query {
  oneDinosaur(name:"Aardonyx") {
    name
    description
  }
}
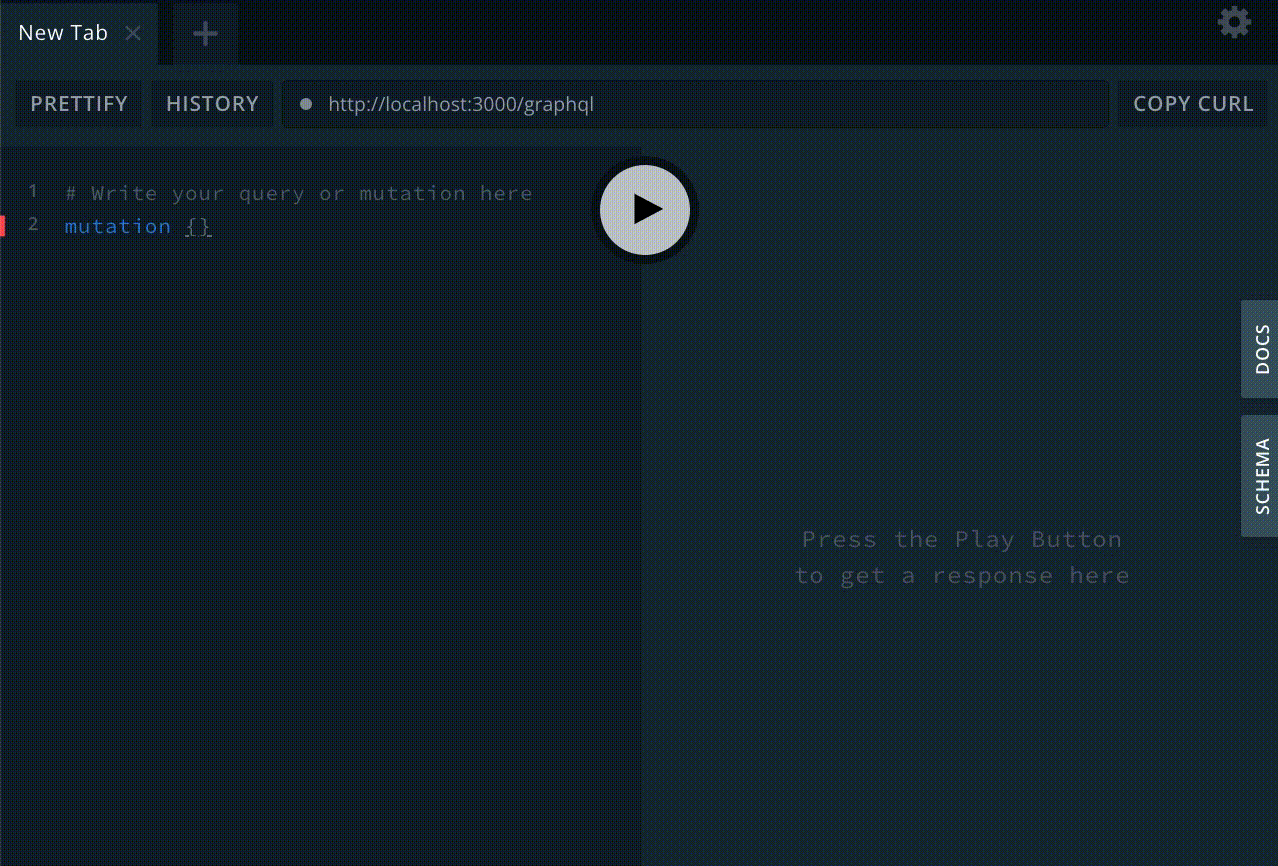
最后,我们可以使用 `addDinosaur` 添加一个恐龙
mutation {
  addDinosaur(name:"Deno",description:"the fastest Deno in the world") {
    name
    description
  }
}
我们提供名称和描述,但我们也可以要求 API 返回名称和描述,以检查恐龙是否已添加成功
为了双重确认,我们还可以再次使用 `oneDinosaur`
接下来是什么?
这个服务器展示了 GraphQL 与 Deno 的基本实现,但您可以做的事情还有很多,比如定义更多的类型、查询以及数据之间的关系。例如,这里每只恐龙都是独立的,但我们可以向定义条目中添加一个 演化支(Clade)类型,并展示 Aardonyx 如何与 Seitaad 和 Sefapanosaurus 相关联。
我们还可以构建一个前端来使用这些数据。要查看它的样子,请查看我们的 如何构建一个具有完美 Lighthouse 分数的电子商务网站,了解我们如何在 我们的周边商店中使用 Shopify GraphQL API。