
如何使用 Hugo 和 Deno Deploy 设置博客

您可能会惊讶于一个用 Go 编写的静态站点生成器可以在 Deno Deploy 上发布。
Deno 遵循 Web 标准,其运行时可以获取并执行外部代码。例如,Deno 可以通过 URL 导入运行一个简单的 HTTP 文件服务器,无需额外配置或编译步骤。而且由于这只是服务静态文件,因此静态站点是如何生成的并不重要。
在此示例中,我们将向您展示如何在几分钟内使用 Hugo 和 Deno Deploy 设置和部署静态站点。
请注意,我们选择 Hugo 是因为它是一个流行的 Go 语言静态站点生成器,构建速度快(每页不到 1 毫秒)。但是,任何静态站点生成器都可以与 Deno Deploy 配合使用。
设置 Hugo
Hugo 已经有一些很棒的入门资源,这里是一个简短的总结。
安装 Hugo
在 MacOS 上,您可以使用 homebrew 或 macports 安装 Hugo。有关安装 Hugo 的更全面列表,请参阅他们的安装指南。
$ brew install hugo创建新站点并安装主题
您可以使用 hugo 命令创建一个新站点
$ hugo new site hugo-on-deno-deploy这将创建一个名为“hugo-on-deno-deploy”的新目录,其中包含项目。导航到该文件夹以安装主题。
Hugo 允许您使用 Git 子模块来安装主题。让我们安装 ananke 主题并将其添加到 config.toml 文件中
$ git init
$ git submodule add https://github.com/theNewDynamic/gohugo-theme-ananke.git themes/ananke
$ echo theme = \"ananke\" >> config.toml
要探索其他主题,请查看 Hugo 的主题列表。
添加博客文章
同样,我们可以使用 hugo 创建一篇博客文章。以下命令将在“content”目录下创建一个名为“posts”的目录,并在其中创建一个名为“my-first-post.md”的新文件。
$ hugo new posts/my-first-post.md您新创建的 Markdown 文件将自动包含一些Front Matter,其内容为空。
---
title: "My First Post"
date: 2022-03-21T17:55:41-07:00
draft: true
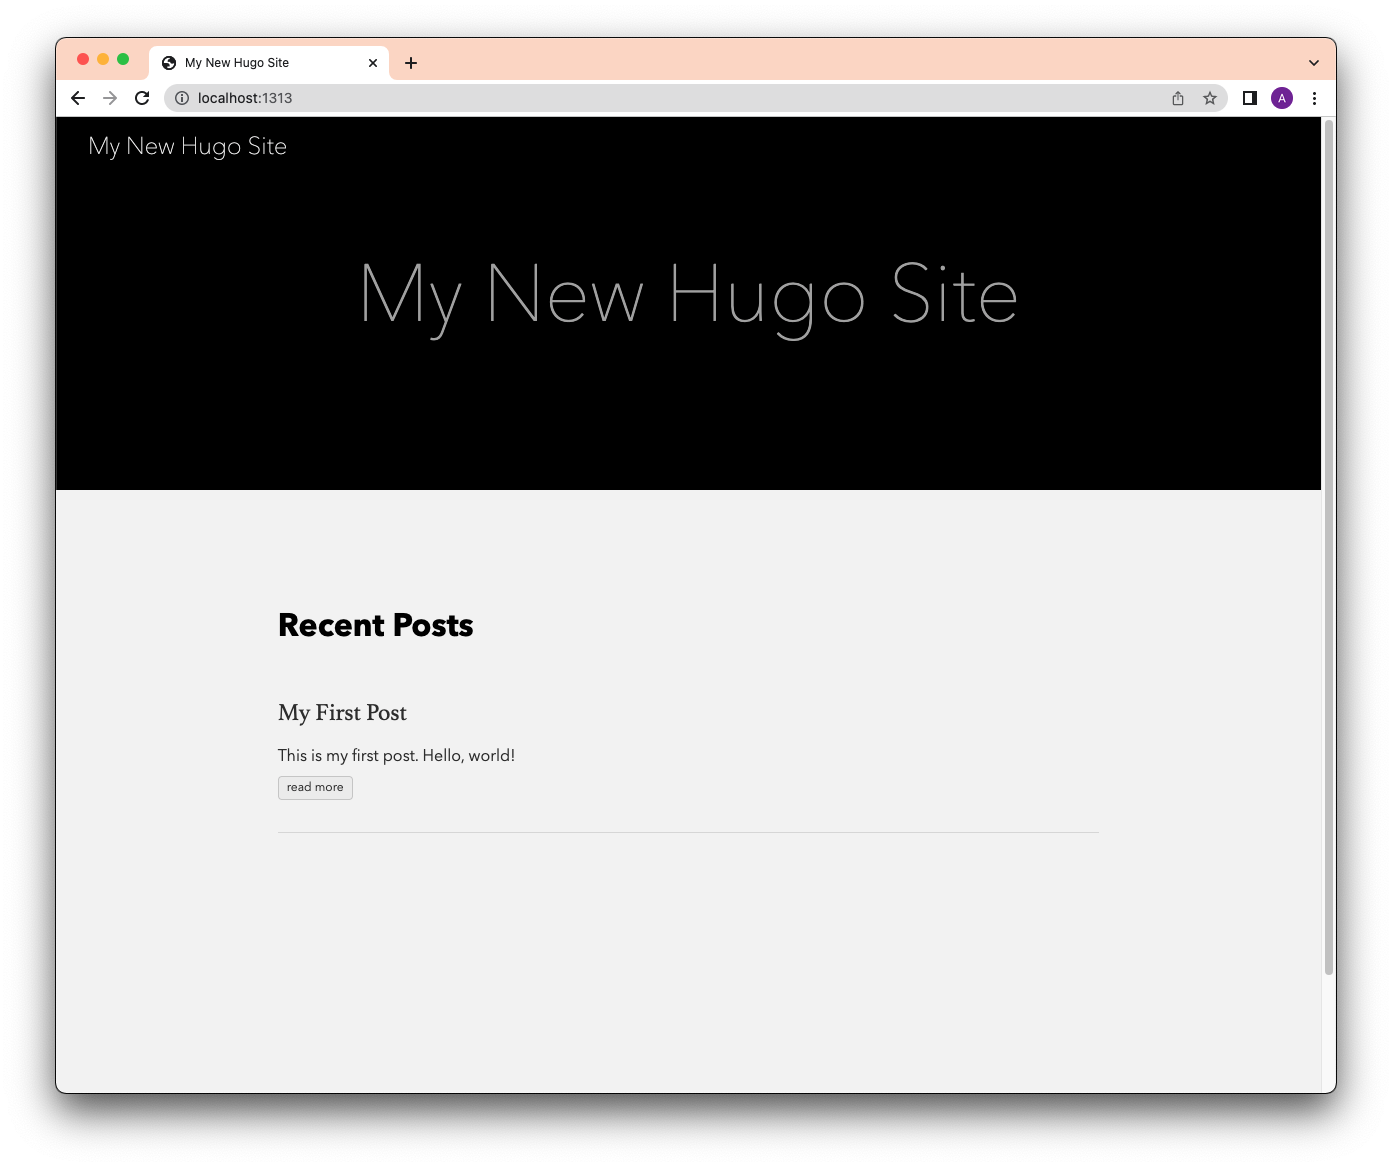
---启动本地服务器并查看!
$ hugo server -D请注意,-D 标志将显示所有 draft: true 的文章。
设置 Git/Github
GitHub 是使用 CI/CD 部署到 Deno Deploy 的关键部分。要进行设置,我们只需创建一个 GitHub 仓库并添加项目目录。
首先,在 Github 中创建一个仓库
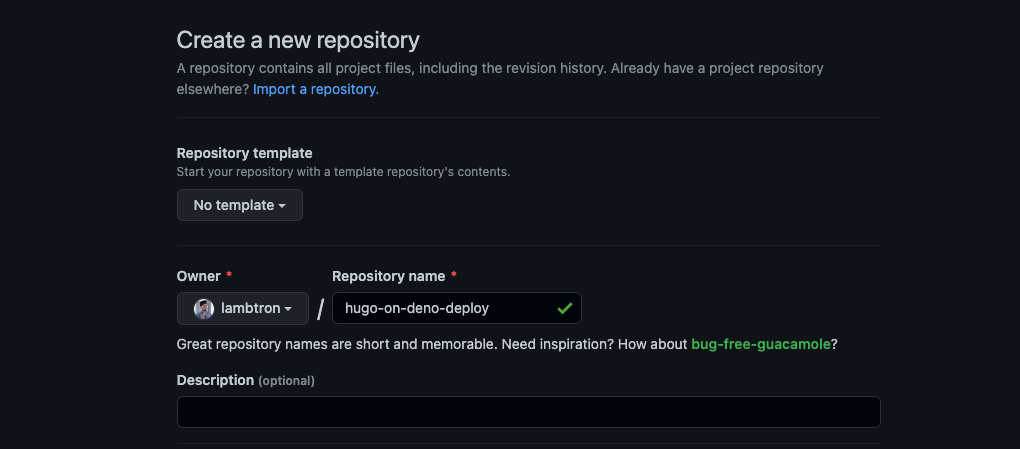
获取远程 URL,将其添加到您的本地 Git 远程,然后推送到 GitHub。
$ git remote add origin git@github.com:lambtron/hugo-on-deno-deploy.git
$ git add .
$ git commit -am “first commit”
$ git push origin main
您的 Hugo 博客现在应该已成为 GitHub 上的一个仓库。
设置 Deno Deploy
Deno Deploy,我们部署在边缘的分布式 TypeScript 和 JavaScript 运行时,提供一流的 GitHub 支持,这意味着自动部署将融入您的工作流程。
首先,前往 Deno Deploy 并点击“注册”。这将要求您连接您的 GitHub 账户。
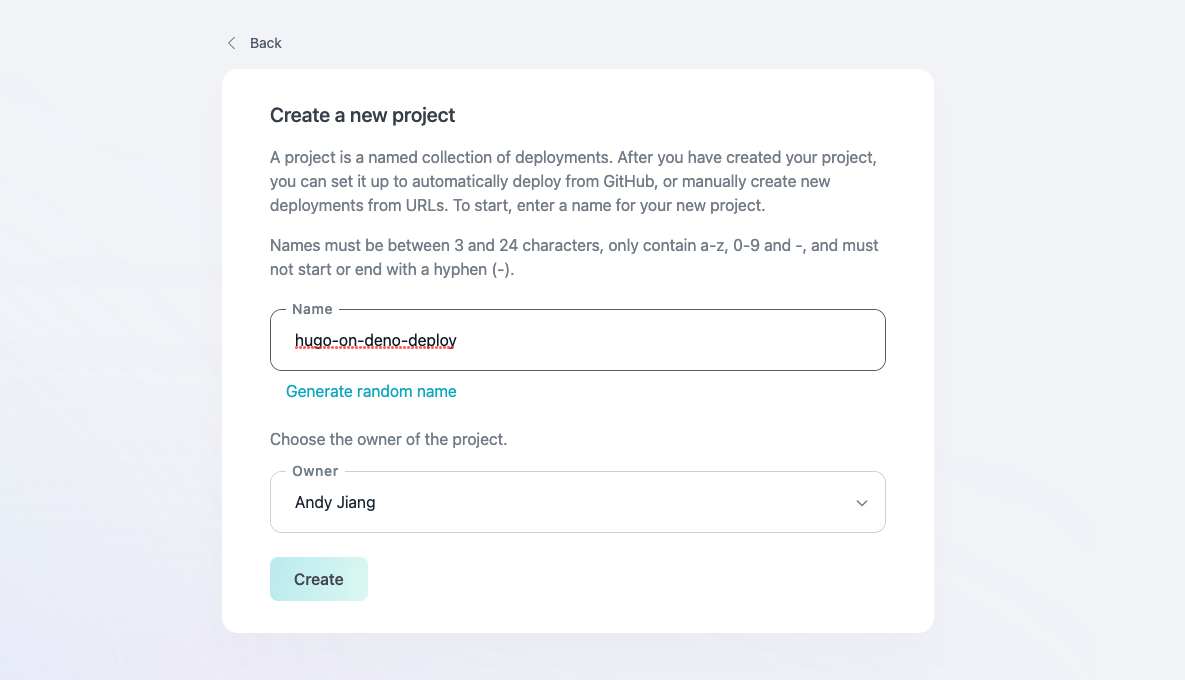
然后,创建一个新项目
选择“从 GitHub 部署”,链接仓库,并使用生产分支。对于部署模式,选择“GitHub Actions”,因为我们希望使用 GitHub Actions 首先使用 Hugo 构建站点,然后将其部署到 Deno Deploy。
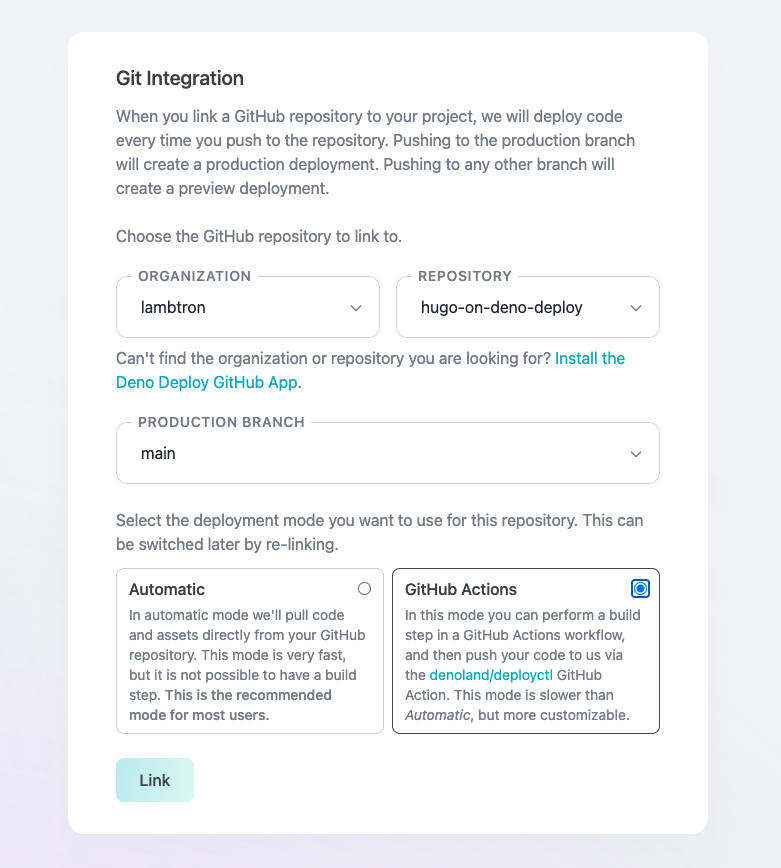
当您点击“链接”时,会出现一个确认消息,以及要添加到您的 GitHub Action 的 YAML 示例。
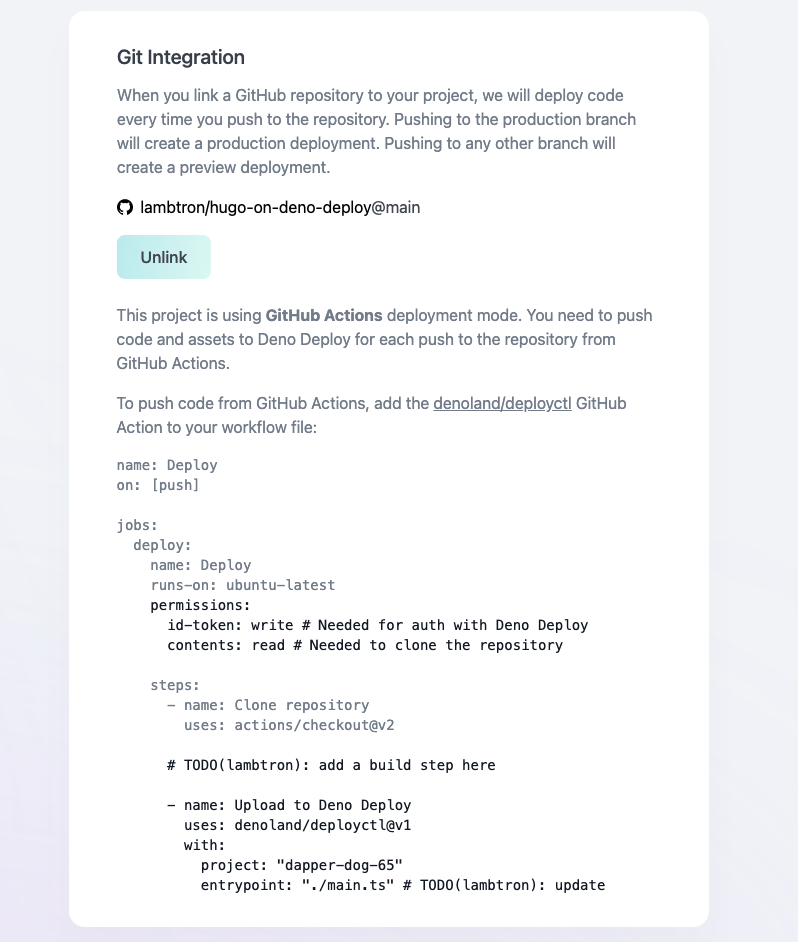
我们将使用示例 YAML 作为创建 GitHub Action 的起点。
设置 Github Actions
GitHub Actions 是一种自动化部署工作流程的简单方法。在我们的示例中,GitHub Actions 将把仓库克隆到 Ubuntu 镜像上,安装 hugo,构建站点,然后将其部署到 Deno Deploy。
您可以从 UI 创建 GitHub Action 工作流程,或者您可以简单地添加一个 .github/workflows/main.yml 文件并提交它。
name: Deploy to Deno Deploy

# Controls when the workflow will run
on:
  # Triggers the workflow on push or pull request events but only for the main branch
  push:
    branches: [main]
  pull_request:
    branches: [main]

  # Allows you to run this workflow manually from the Actions tab
  workflow_dispatch:

# A workflow run is made up of one or more
# jobs that can run sequentially or in parallel
jobs:
  deploy:
    name: Deploy
    runs-on: ubuntu-latest
    permissions:
      id-token: write # Allows authentication with Deno Deploy.
      contents: read # Allows cloning the repo.

    steps:
      - name: Clone repository
        uses: actions/checkout@v2
        with:
          submodules: true # Fetch Hugo themes (true or recursive)
          fetch-depth: 0 # Fetch all history for .GitInfo and .Lastmod

      - name: Setup Hugo
        uses: peaceiris/actions-hugo@v2
        with:
          hugo-version: "latest"

      - name: Build site
        run: hugo --minify

      - name: Deploy to Deno Deploy
        uses: denoland/deployctl@v1
        with:
          project: hugo-on-deno-deploy # the name of the project on Deno Deploy
          entrypoint: https://deno.land/std@0.140.0/http/file_server.ts
          root: public # Where the built HTML/CSS/JS files are located.
工作流程的最后一步使用 deployctl,这是一个 Deno Deploy 的命令行工具。对于入口点,我们将使用 Deno 的标准库文件服务器。请注意,我们不需要“下载”文件服务器——只需提供原始 TypeScript 文件的 URL 地址就足以让 Deno Deploy 运行服务器。
现在,让我们尝试一个示例部署。提交到 main 分支(或将拉取请求合并到 main 分支)以触发 GitHub Action。
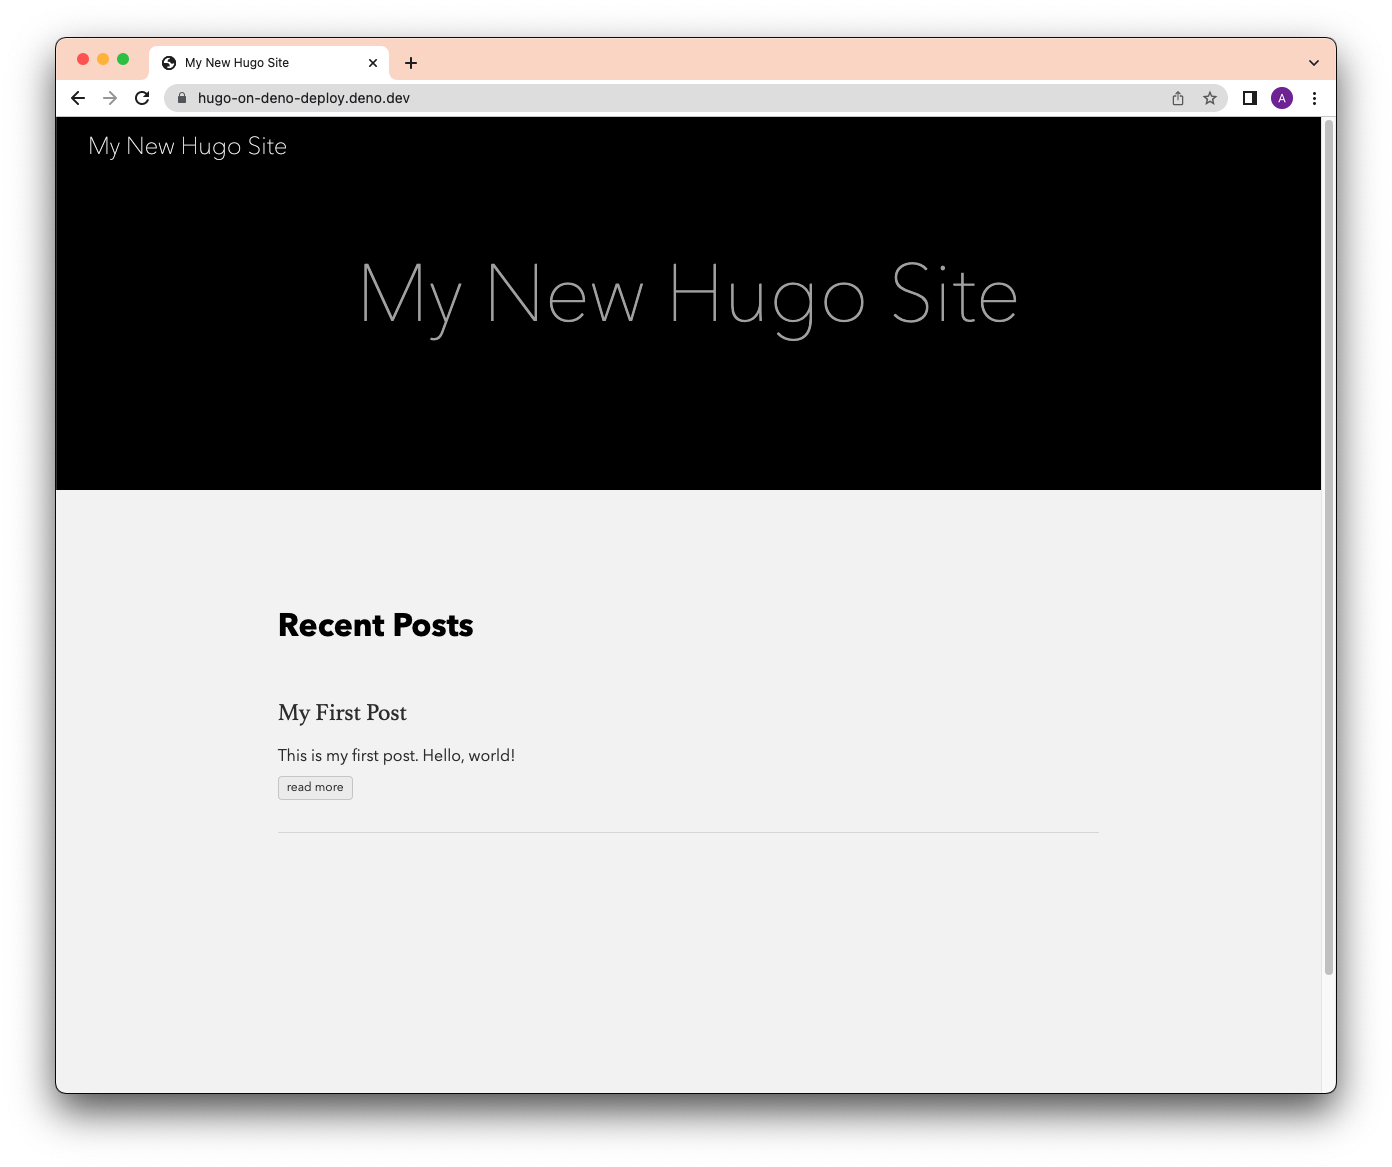
GitHub Action 成功运行后,在 Deno Deploy 上的项目中点击“查看”。
发布博客文章
既然我们已经使用 GitHub 和 Deno Deploy 设置了持续部署,那么让我们发布第一篇博客文章。
第一步是使用 hugo 创建一篇博客文章。
$ hugo new posts/my-second-post.md在新 Markdown 文件中添加一些内容,并从 Front Matter 中删除 draft: true。
---
title: "My Second Post"
date: 2022-03-24T09:58:34-07:00
---
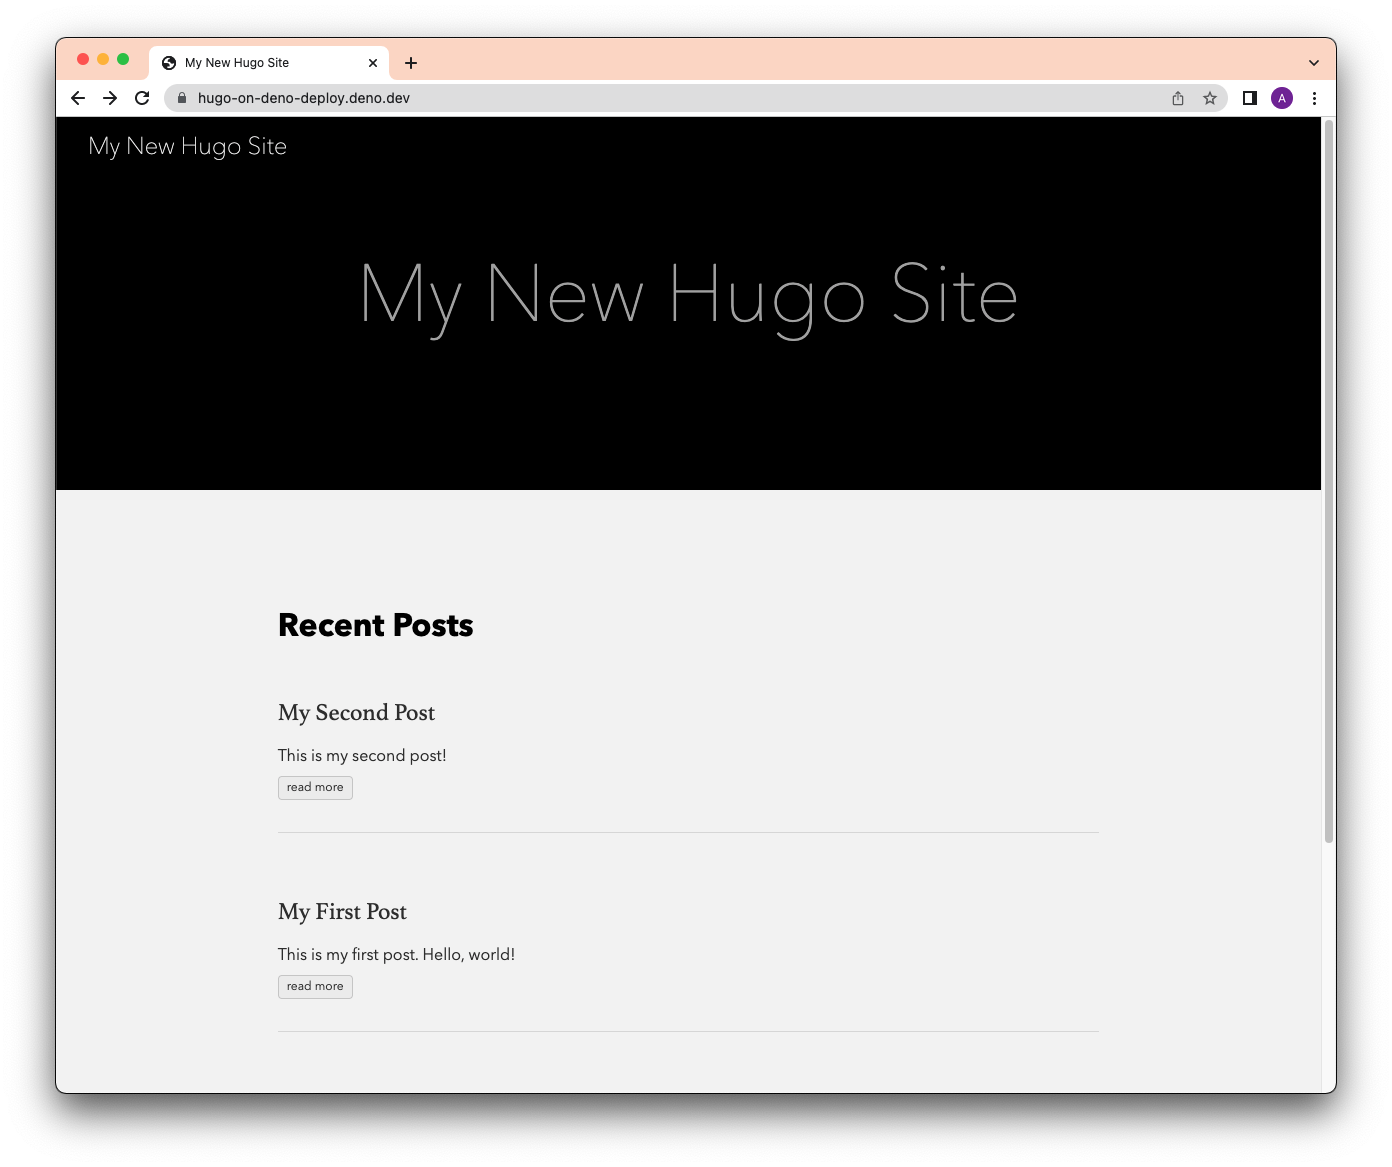
This is my second post!使用 hugo server 在本地预览您的站点。当您对文章满意后,将更改提交到您的 main 分支。最后,在 GitHub Actions 成功部署后
下一步是什么?
将 Hugo 与 Deno Deploy 结合使用是在边缘全球部署博客的最简单方法之一。此外,持续部署设置使发布博客文章变得容易,因此您可以专注于内容。
此示例还表明,您的静态站点生成器无需用 JavaScript 或 TypeScript 编写即可在 Deno Deploy 上运行。只要 HTML 文件可以静态服务,任何静态站点生成器都可以使用。
想分享您在 Deno Deploy 上部署的内容或有疑问?欢迎在我们的 Discord 上打个招呼。