
如何使用 Oak 和 Deno KV 构建 CRUD API

Deno KV 是首批内置于运行时的数据库之一。这意味着你无需执行任何额外步骤,例如配置数据库或复制粘贴 API 密钥,即可构建有状态应用程序。要打开与数据存储的连接,只需编写
const kv = await Deno.openKv();除了作为具有简单而灵活的 API 的键值存储之外,它还是一个生产就绪的数据库,具有原子事务、一致性控制和尖端性能。
通过本入门教程,你将学习如何使用 Deno KV 构建一个用Oak 编写的简单有状态 CRUD API。我们将涵盖:
在开始之前,Deno KV 目前在Deno 1.33 及更高版本中可通过 --unstable 标志使用。如果你有兴趣在 Deno Deploy 上使用 Deno KV,请加入等待列表,因为它仍在内测中。
请跟随以下步骤,或查看源代码。
设置数据库模型
这个 API 相当简单,使用了两个模型,其中每个 user 将拥有一个可选的 address。
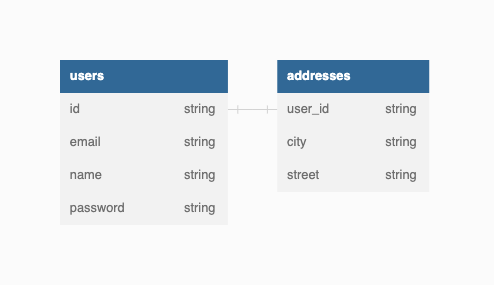
在一个新的仓库中,创建一个 db.ts 文件,它将包含数据库的所有信息和逻辑。让我们从类型定义开始:
export interface User {
  id: string;
  email: string;
  name: string;
  password: string;
}

export interface Address {
  city: string;
  street: string;
}
创建 API 路由
接下来,让我们创建包含以下功能的 API 路由:
- 新增或更新用户
- 新增或更新与用户关联的地址
- 列出所有用户
- 按 ID 列出单个用户
- 按电子邮件列出单个用户
- 按用户 ID 列出地址
- 删除用户及任何关联的地址
我们可以使用 Oak (受 Koa 启发) 轻松实现这一点,它自带Router。
让我们创建一个新文件 main.ts 并添加以下路由。目前,我们将把路由处理程序中的部分逻辑留空。
import {
  Application,
  Context,
  helpers,
  Router,
} from "https://deno.land/x/oak@v12.4.0/mod.ts";

const { getQuery } = helpers;
const router = new Router();

router
  .get("/users", async (ctx: Context) => {
  })
  .get("/users/:id", async (ctx: Context) => {
    const { id } = getQuery(ctx, { mergeParams: true });
  })
  .get("/users/email/:email", async (ctx: Context) => {
    const { email } = getQuery(ctx, { mergeParams: true });
  })
  .get("/users/:id/address", async (ctx: Context) => {
    const { id } = getQuery(ctx, { mergeParams: true });
  })
  .post("/users", async (ctx: Context) => {
    const body = ctx.request.body();
    const user = await body.value;
  })
  .post("/users/:id/address", async (ctx: Context) => {
    const { id } = getQuery(ctx, { mergeParams: true });
    const body = ctx.request.body();
    const address = await body.value;
  })
  .delete("/users/:id", async (ctx: Context) => {
    const { id } = getQuery(ctx, { mergeParams: true });
  });

const app = new Application();

app.use(router.routes());
app.use(router.allowedMethods());

await app.listen({ port: 8000 });
接下来,让我们通过编写数据库函数深入了解 Deno KV。
Deno KV
回到我们的 db.ts 文件,让我们开始在类型定义下方添加数据库辅助函数。
const kv = await Deno.openKv();

export async function getAllUsers() {
}

export async function getUserById(id: string): Promise<User> {
}

export async function getUserByEmail(email: string) {
}

export async function getAddressByUserId(id: string) {
}

export async function upsertUser(user: User) {
}

export async function updateUserAndAddress(user: User, address: Address) {
}

export async function deleteUserById(id: string) {
}
让我们从填充 getUserById 开始。
export async function getUserById(id: string): Promise<User> {
  const key = ["user", id];
  return (await kv.get<User>(key)).value!;
}
这相对简单,我们使用键前缀 "user" 和一个 id 与kv.get()。
但是如何添加 getUserByEmail 呢?
添加二级索引
一个二级索引是指非主索引且可能包含重复值的索引。在本例中,我们的二级索引是 email。
由于 Deno KV 是一个简单的键值存储,我们将创建第二个键前缀 "user_by_email",它使用 email 来创建键并返回关联的用户 id。示例如下:
const user = (await kv<User>.get(["user", "1"])).value!;
// {
//   "id": "1",
//   "email": "andy@deno.com",
//   "name": "andy",
//   "password": "12345"
// }

const id = (await kv.get(["user_by_email", "andy@deno.com"])).value;
// 1
然后,为了获取 user,我们将在第一个索引上执行单独的 kv.get() 操作。
有了这两个索引,我们现在可以编写 getUserByEmail 了。
export async function getUserByEmail(email: string) {
  const userByEmailKey = ["user_by_email", email];
  const id = (await kv.get(userByEmailKey)).value as string;
  const userKey = ["user", id];
  return (await kv<User>.get(userKey)).value!;
}
现在,当我们 upsertUser 时,我们必须更新 "user" 主键前缀中的 user。如果 email 不同,那么我们还需要更新二级键前缀 "user_by_email"。
但是,当两个更新事务同时发生时,我们如何确保数据不会不同步呢?
使用原子事务
我们将使用kv.atomic(),它保证事务中的所有操作要么全部成功完成,要么在失败时回滚到其初始状态,使数据库保持不变。
我们这样定义 upsertUser:
export async function upsertUser(user: User) {
  const userKey = ["user", user.id];
  const userByEmailKey = ["user_by_email", user.email];

  const oldUser = await kv.get<User>(userKey);

  if (!oldUser.value) {
    const ok = await kv.atomic()
      .check(oldUser)
      .set(userByEmailKey, user.id)
      .set(userKey, user)
      .commit();
    if (!ok) throw new Error("Something went wrong.");
  } else {
    const ok = await kv.atomic()
      .check(oldUser)
      .delete(["user_by_email", oldUser.value.email])
      .set(userByEmailKey, user.id)
      .set(userKey, user)
      .commit();
    if (!ok) throw new Error("Something went wrong.");
  }
}
我们首先获取 oldUser 来检查它是否存在。如果不存在,则使用 user 和 user.id .set() 键前缀 "user" 和 "user_by_email"。否则,由于 user.email 可能已更改,我们通过删除键 ["user_by_email", oldUser.value.email] 处的值来移除 "user_by_email" 处的值。
我们使用 .check(oldUser) 来完成所有这些操作,以确保没有其他客户端更改这些值。否则,我们容易受到竞态条件的影响,导致错误的记录被更新。如果 .check() 通过且值保持不变,我们就可以使用 .set() 和 .delete() 完成事务。
kv.atomic()是在多个客户端发送写入事务时确保正确性的好方法,例如在银行/金融和其他数据敏感应用程序中。
列表和分页
接下来,让我们定义 getAllUsers。我们可以使用kv.list(),它返回一个键迭代器,我们可以枚举它来获取值,然后我们将这些值 .push() 到 users 数组中。
export async function getAllUsers() {
  const users = [];
  for await (const res of kv.list({ prefix: ["user"] })) {
    users.push(res.value);
  }
  return users;
}
请注意,这个简单函数会遍历并返回整个 KV 存储。如果此 API 与前端交互,我们可以传递 { limit: 50 } 选项来检索前 50 个项目。
let iter = await kv.list({ prefix: ["user"] }, { limit: 50 });当用户需要更多数据时,可以使用 iter.cursor 检索下一批数据。
iter = await kv.list({ prefix: ["user"] }, { limit: 50, cursor: iter.cursor });添加第二个模型:Address
让我们将第二个模型 Address 添加到我们的数据库中。我们将使用一个新的键前缀 "user_address",后跟标识符 user_id (即 ["user_address", user_id]),作为这两个 KV 子空间之间的“连接”。
现在,让我们编写 getAddressByUser 函数。
export async function getAddressByUserId(id: string) {
  const key = ["user_address", id];
  return (await kv<Address>.get(key)).value!;
}
我们也可以编写 updateUserAndAddress 函数。请注意,我们需要使用 kv.atomic(),因为我们想更新带有 "user"、"user_by_email" 和 "user_address" 键前缀的三个 KV 条目。
export async function updateUserAndAddress(user: User, address: Address) {
  const userKey = ["user", user.id];
  const userByEmailKey = ["user_by_email", user.email];
  const addressKey = ["user_address", user.id];

  const oldUser = await kv.get<User>(userKey);

  if (!oldUser.value) {
    const ok = await kv.atomic()
      .check(oldUser)
      .set(userByEmailKey, user.id)
      .set(userKey, user)
      .set(addressKey, address)
      .commit();
    if (!ok) throw new Error("Something went wrong.");
  } else {
    const ok = await kv.atomic()
      .check(oldUser)
      .delete(["user_by_email", oldUser.value.email])
      .set(userByEmailKey, user.id)
      .set(userKey, user)
      .set(addressKey, address)
      .commit();
    if (!ok) throw new Error("Something went wrong.");
  }
}
添加 kv.delete()
最后,为了完善我们应用程序的 CRUD 功能,让我们定义 deleteByUserId。
与其他修改函数类似,我们将检索 userRes 并在 .delete() 这三个键之前使用 .atomic().check(userRes)。
export async function deleteUserById(id: string) {
  const userKey = ["user", id];
  const userRes = await kv.get(userKey);
  if (!userRes.value) return;
  const userByEmailKey = ["user_by_email", userRes.value.email];
  const addressKey = ["user_address", id];

  await kv.atomic()
    .check(userRes)
    .delete(userKey)
    .delete(userByEmailKey)
    .delete(addressKey)
    .commit();
}
更新路由处理程序
现在我们已经定义了数据库函数,让我们将它们导入到 main.ts 中,并填充路由处理程序中的其余功能。以下是完整的 main.ts 文件:
import {
  Application,
  Context,
  helpers,
  Router,
} from "https://deno.land/x/oak@v12.4.0/mod.ts";
import {
  deleteUserById,
  getAddressByUserId,
  getAllUsers,
  getUserByEmail,
  getUserById,
  updateUserAndAddress,
  upsertUser,
} from "./db.ts";

const { getQuery } = helpers;
const router = new Router();

router
  .get("/users", async (ctx: Context) => {
    ctx.response.body = await getAllUsers();
  })
  .get("/users/:id", async (ctx: Context) => {
    const { id } = getQuery(ctx, { mergeParams: true });
    ctx.response.body = await getUserById(id);
  })
  .get("/users/email/:email", async (ctx: Context) => {
    const { email } = getQuery(ctx, { mergeParams: true });
    ctx.response.body = await getUserByEmail(email);
  })
  .get("/users/:id/address", async (ctx: Context) => {
    const { id } = getQuery(ctx, { mergeParams: true });
    ctx.response.body = await getAddressByUserId(id);
  })
  .post("/users", async (ctx: Context) => {
    const body = ctx.request.body();
    const user = await body.value;
    await upsertUser(user);
  })
  .post("/users/:id/address", async (ctx: Context) => {
    const { id } = getQuery(ctx, { mergeParams: true });
    const body = ctx.request.body();
    const address = await body.value;
    const user = await getUserById(id);
    await updateUserAndAddress(user, address);
  })
  .delete("/users/:id", async (ctx: Context) => {
    const { id } = getQuery(ctx, { mergeParams: true });
    await deleteUserById(id);
  });

const app = new Application();

app.use(router.routes());
app.use(router.allowedMethods());

await app.listen({ port: 8000 });
测试我们的 API
让我们运行并测试我们的应用程序。运行方式如下:
deno run --allow-net --watch --unstable main.ts我们可以使用 CURL 命令测试我们的应用程序。让我们添加一个新用户:
curl -X POST https://:8000/users -H "Content-Type: application/json" -d '{ "id": "1", "email": "andy@deno.com", "name": "andy", "password": "12345" }'当我们在浏览器中访问 localhost:8000/users 时,应该看到:
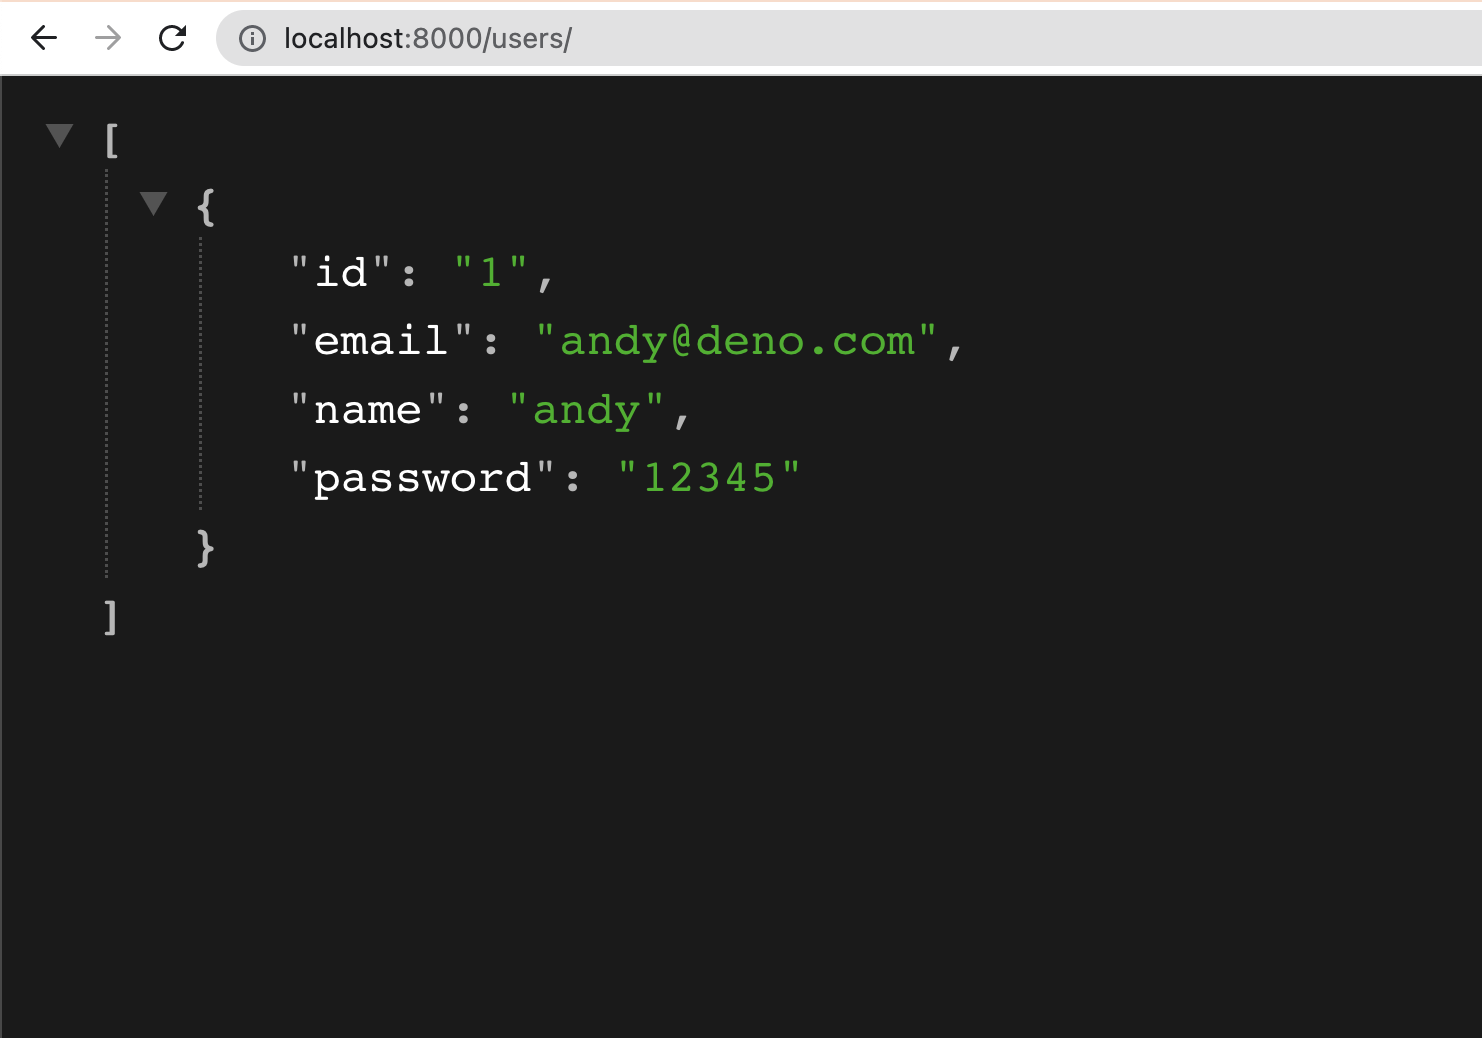
让我们看看能否通过在浏览器中访问 localhost:8000/users/email/andy@deno.com 来按电子邮件检索用户。
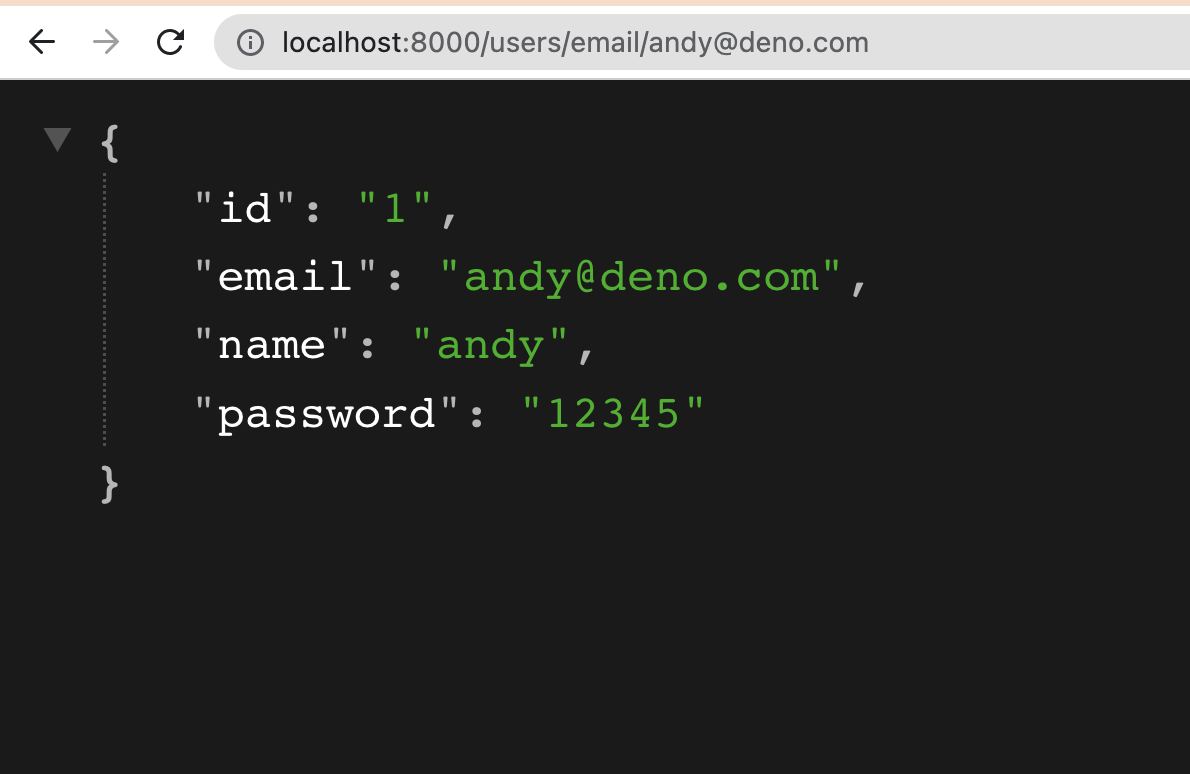
让我们发送一个 POST 请求,为该用户添加一个地址:
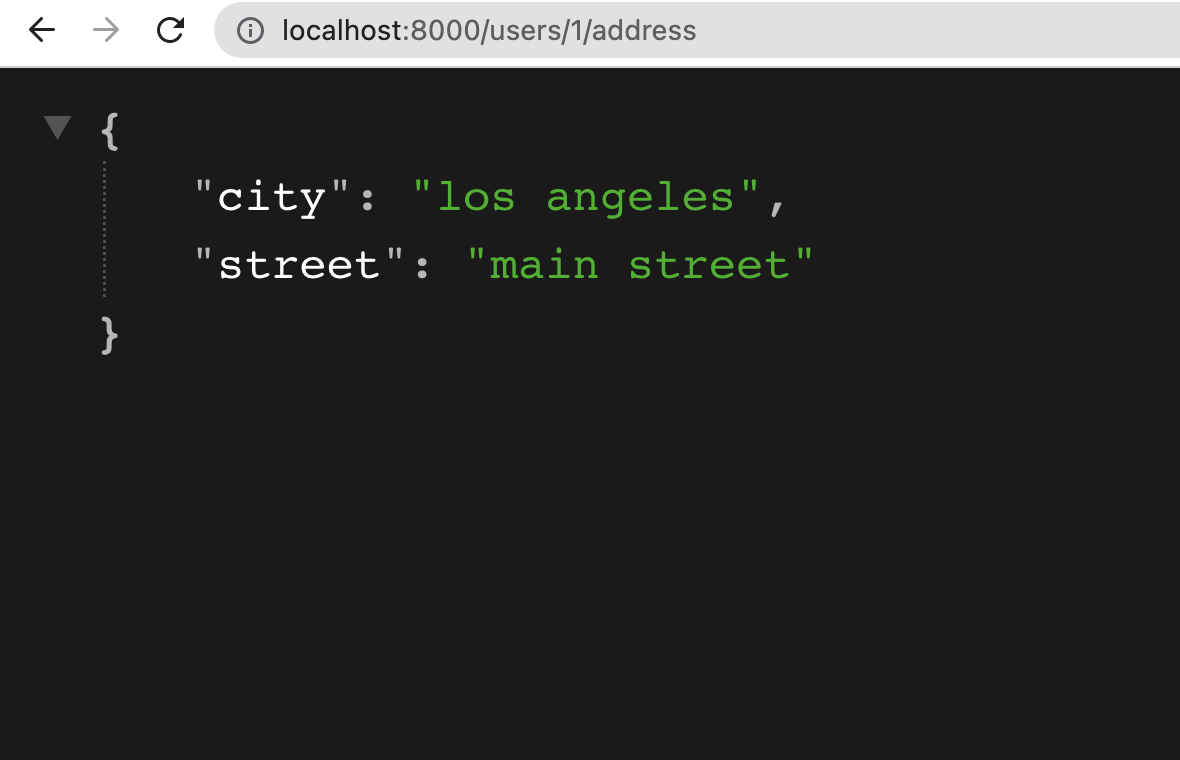
curl -X POST https://:8000/users/1/address -H "Content-Type: application/json" -d '{ "city": "los angeles", "street": "main street" }'然后让我们访问 localhost:8000/users/1/address,看看是否成功。
让我们更新 ID 为 1 的同一用户,为其设置新名称:
curl -X POST https://:8000/users -H "Content-Type: application/json" -d '{ "id": "1", "email": "andy@deno.com", "name": "an even better andy", "password": "12345" }'我们可以在浏览器中 localhost:8000/users/1 看到该更改。
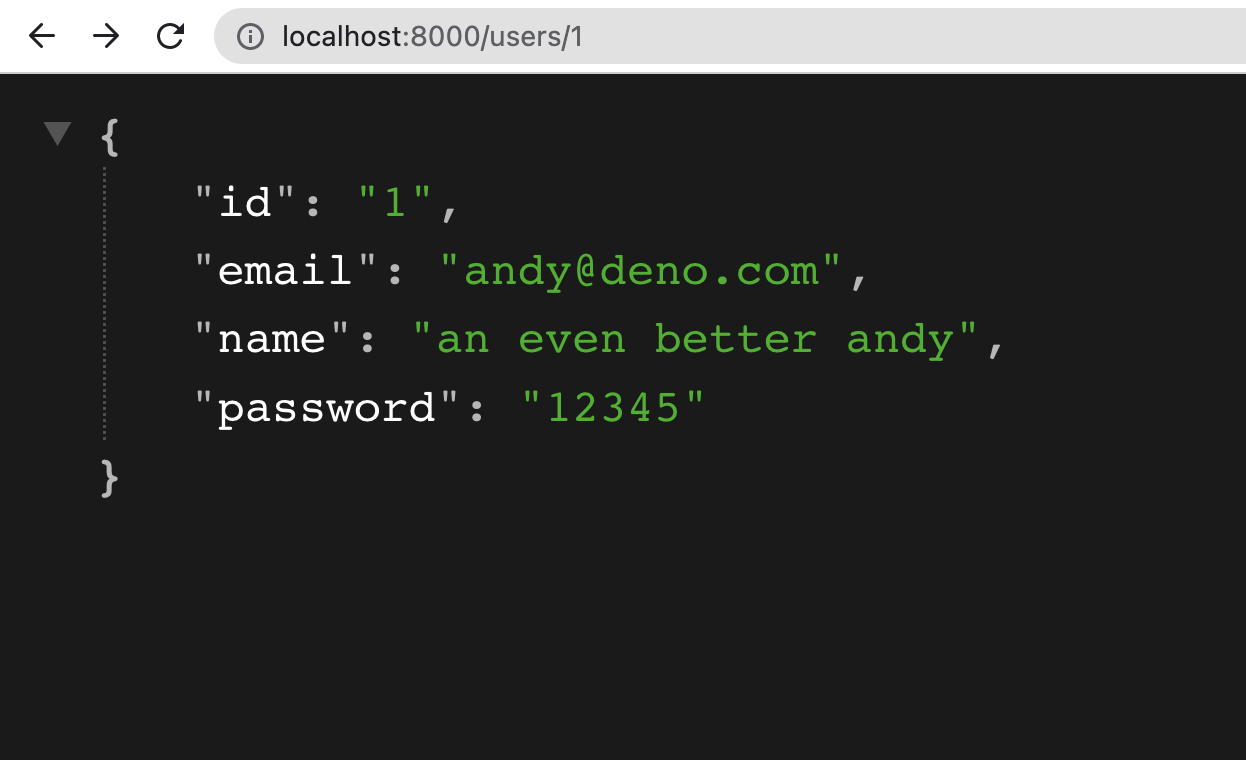
最后,让我们删除用户:
curl -X DELETE https://:8000/users/1当我们在浏览器中访问 localhost:8000/users 时,应该看不到任何内容。
下一步
这只是使用 Deno KV 构建有状态 API 的入门介绍,但希望你能看到它入门是多么快速和简单。
有了这个 CRUD API,你可以创建一个简单的前端客户端来与数据交互。
不要错过任何更新 — 在 Twitter 上关注我们。