如何使用 Fresh 设置身份验证
身份验证和会话管理是构建现代 Web 应用程序最基本的方面之一。它对于隐藏付费内容或创建仅限管理员的部分(如仪表板)是必不可少的。
Fresh 是一个边缘原生的 Web 框架,通过服务器端渲染和 Islands 架构实现了渐进增强,同时优化了延迟和性能。因此,Fresh 应用通常能获得更高的 Lighthouse 分数,并且可以在互联网带宽较低的地区运行。
这是一个将身份验证添加到您的 Fresh 应用程序的简单指南。请按照以下步骤操作,或在此处查看源代码。
创建一个新的 Fresh 应用程序
首先,让我们创建一个新的 Fresh 应用程序。
$ deno run -A -r https://fresh.deno.dev my-auth-app为保持简单,我们删除一些内容
$ rm -rf islands/Counter.tsx routes/api/joke.ts routes/\[name\].tsx更新 index.tsx
首先,让我们更新 import_map.json 以包含 std lib
{
  "imports": {
    "$fresh/": "https://deno.land/x/fresh@1.1.2/",
    "preact": "https://esm.sh/preact@10.11.0",
    "preact/": "https://esm.sh/preact@10.11.0/",
    "preact-render-to-string": "https://esm.sh/*preact-render-to-string@5.2.4",
    "@preact/signals": "https://esm.sh/*@preact/signals@1.0.3",
    "@preact/signals-core": "https://esm.sh/*@preact/signals-core@1.0.1",
    "twind": "https://esm.sh/twind@0.16.17",
    "twind/": "https://esm.sh/twind@0.16.17/",
    "std/": "https://deno.land/std@0.160.0/"
  }
}
接下来,我们更新 /routes/index.tsx 来显示您的登录状态。
我们将使用 cookie(借助 std/cookie 中的 getCookies)来检查用户的状态。
import type { Handlers, PageProps } from "$fresh/server.ts";
import { getCookies } from "std/http/cookie.ts";

interface Data {
  isAllowed: boolean;
}

export const handler: Handlers = {
  GET(req, ctx) {
    const cookies = getCookies(req.headers);
    return ctx.render!({ isAllowed: cookies.auth === "bar" });
  },
};

export default function Home({ data }: PageProps<Data>) {
  return (
    <div>
      <div>
        You currently {data.isAllowed ? "are" : "are not"} logged in.
      </div>
    </div>
  );
}
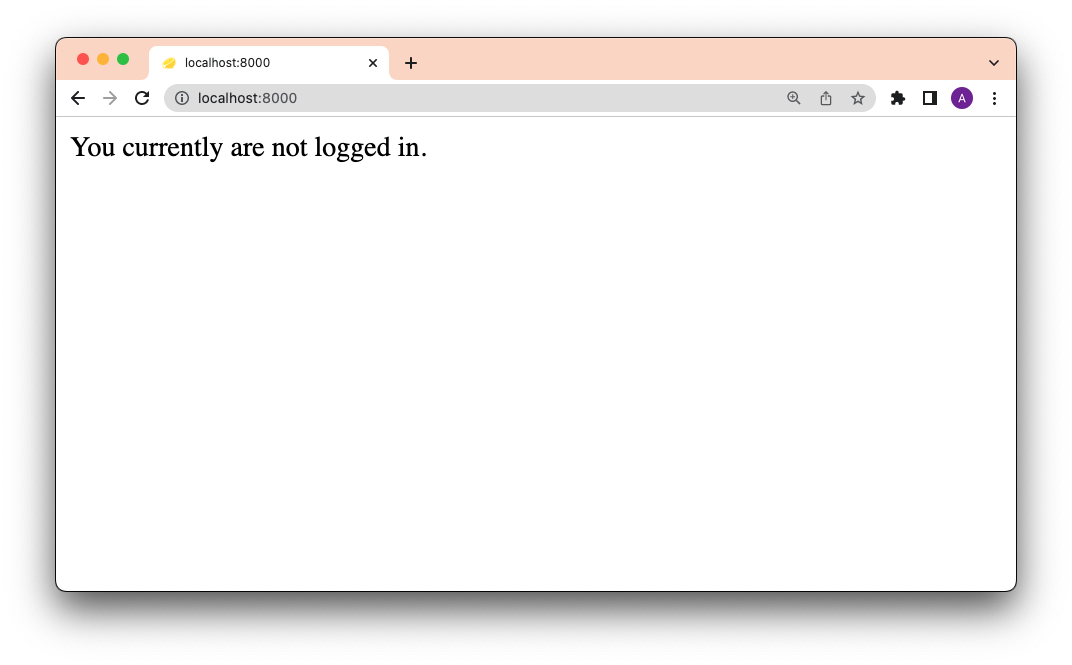
自定义处理程序仅检查 cookie 并设置 isAllowed。我们的默认组件将根据 isAllowed 的值显示不同的状态。目前,由于我们尚未添加任何登录或设置 cookie 的逻辑,它显示

接下来,让我们创建一个名为 <Login> 的登录表单组件。
创建 <Login> 组件
我们可以直接在 index.tsx 中创建这个组件
function Login() {
  return (
    <form method="post" action="/api/login">
      <input type="text" name="username" />
      <input type="password" name="password" />
      <button type="submit">Submit</button>
    </form>
  );
}
此组件会将 username 和 password POST 到 /api/login,我们稍后将定义它。请注意,表单使用 multipart/form-data(而不是 json),它尽可能依赖原生浏览器功能,并最大限度地减少对任何客户端 JavaScript 的需求。
接下来,让我们在 /api/login 端点创建实际的身份验证逻辑。
添加 login 和 logout 路由
在 /routes/api/ 下,让我们创建 login.ts
$ touch /routes/api/login.ts此端点的所有身份验证逻辑都将包含在自定义处理程序函数中。
为简单起见,我们的用户名和密码将硬编码为“deno”和“land”。 (在大多数生产环境中,您会使用身份验证策略、持久数据存储中的令牌等)
当向 /api/login 发出 POST 请求时,自定义处理程序函数将执行以下操作
- 从
req请求参数中提取username和password - 根据我们硬编码的用户名和密码进行检查
- 将
authcookie 设置为bar(在生产环境中,这应该是一个会话唯一的哈希值),maxAge为 120(它将在 2 分钟后过期) - 并返回适当的 HTTP 响应(
HTTP 303强制方法回到GET,防止奇怪的浏览器历史行为)
代码如下
import { Handlers } from "$fresh/server.ts";
import { setCookie } from "std/http/cookie.ts";

export const handler: Handlers = {
  async POST(req) {
    const url = new URL(req.url);
    const form = await req.formData();
    if (form.get("username") === "deno" && form.get("password") === "land") {
      const headers = new Headers();
      setCookie(headers, {
        name: "auth",
        value: "bar", // this should be a unique value for each session
        maxAge: 120,
        sameSite: "Lax", // this is important to prevent CSRF attacks
        domain: url.hostname,
        path: "/",
        secure: true,
      });

      headers.set("location", "/");
      return new Response(null, {
        status: 303, // "See Other"
        headers,
      });
    } else {
      return new Response(null, {
        status: 403,
      });
    }
  },
};我们再创建一个用于退出的端点:/routes/logout.ts
$ touch routes/logout.ts退出逻辑将删除登录时设置的 cookie,并将用户重定向到根页面
import { Handlers } from "$fresh/server.ts";
import { deleteCookie } from "std/http/cookie.ts";

export const handler: Handlers = {
  GET(req) {
    const url = new URL(req.url);
    const headers = new Headers(req.headers);
    deleteCookie(headers, "auth", { path: "/", domain: url.hostname });

    headers.set("location", "/");
    return new Response(null, {
      status: 302,
      headers,
    });
  },
};
现在,让我们回到 /routes/index.tsx 并添加我们的登录和退出组件,将所有内容连接起来。
将 <Login> 和退出添加到索引
在 routes/index.tsx 页面的 <Home> 组件中,我们添加 <Login> 组件,以及一个用于退出(向 /logout 发送请求)的按钮。
// routes/index.tsx

export default function Home({ data }: PageProps<Data>) {
  return (
    <div>
      <div>
        You currently {data.isAllowed ? "are" : "are not"} logged in.
      </div>
      {!data.isAllowed ? <Login /> : <a href="/logout">Logout</a>}
    </div>
  );
}
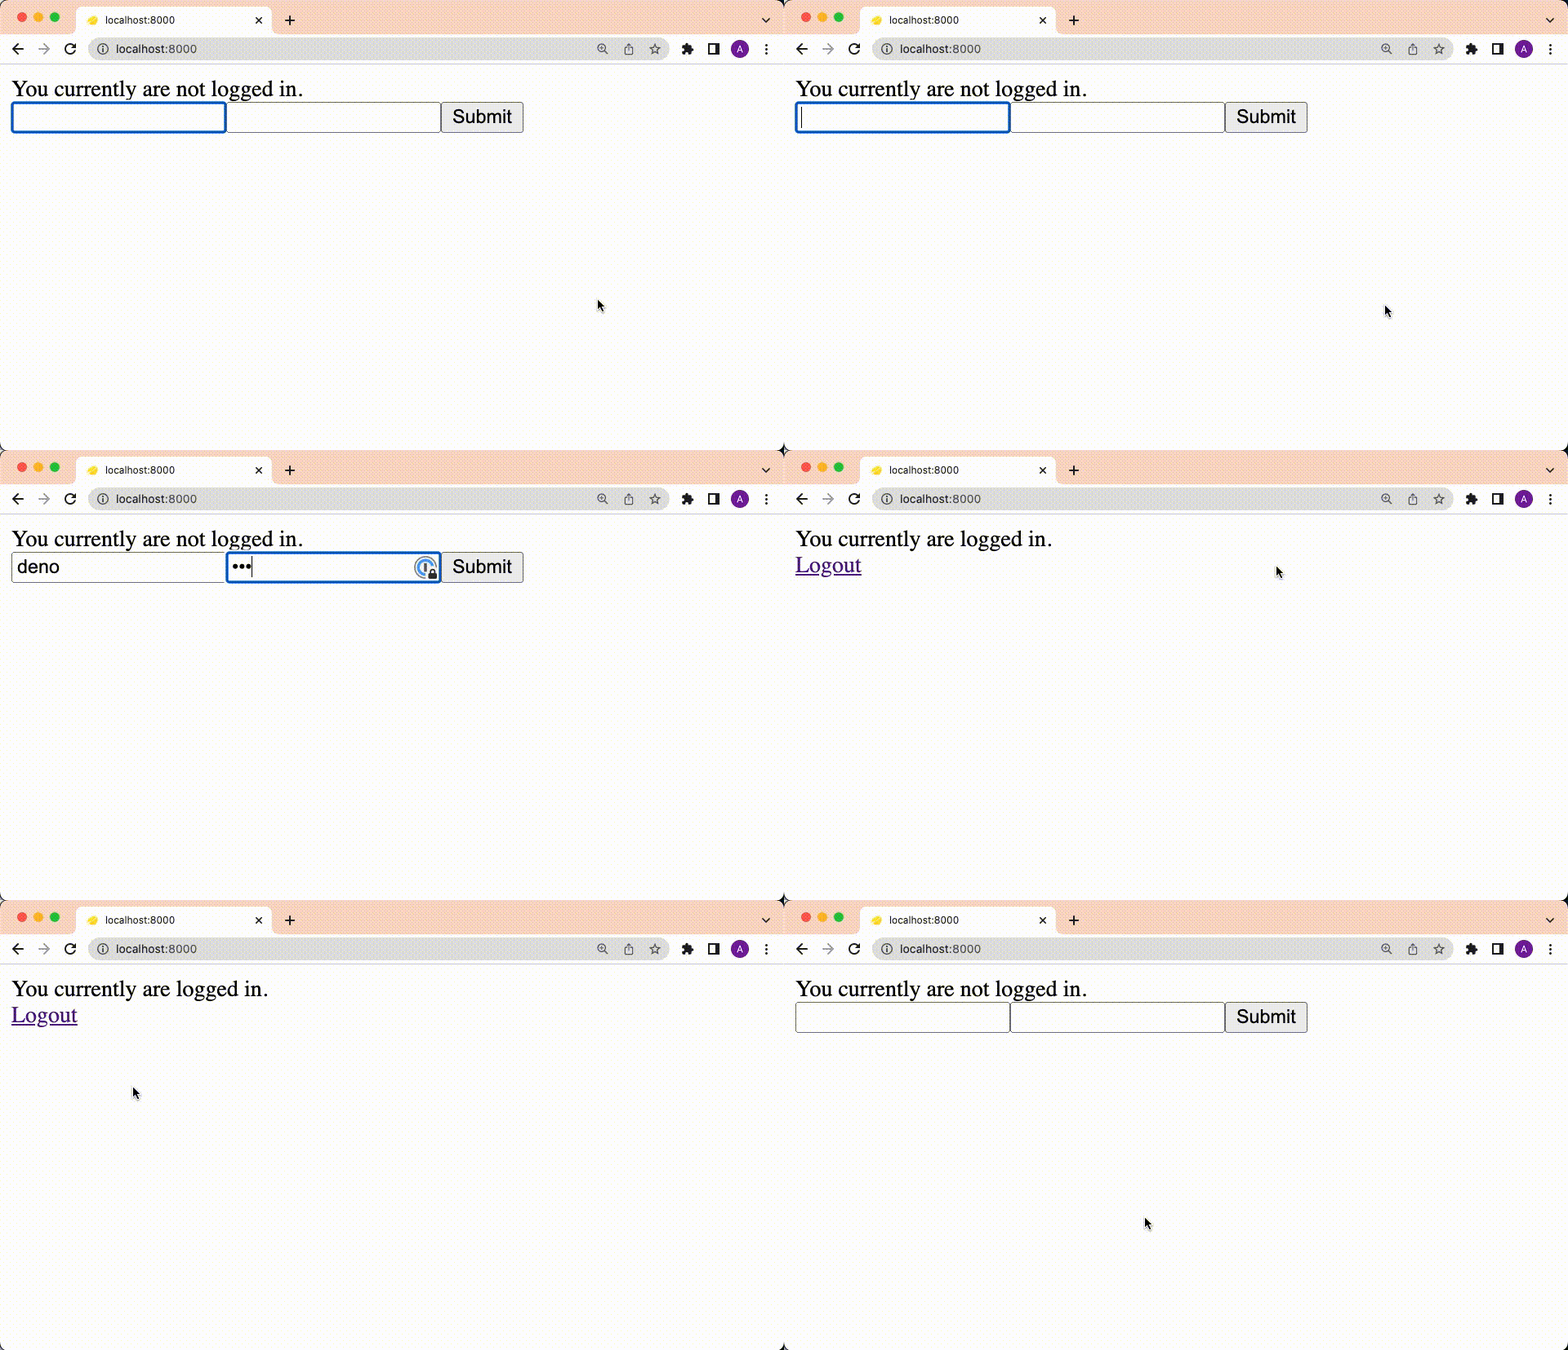
检查本地主机,现在我们有了可用的登录和退出按钮。

太棒了!
处理未登录用户
许多付费墙网站如果用户未登录,会自动重定向用户。
我们可以通过在自定义处理程序中添加重定向逻辑来实现此功能
import type { Handlers } from "$fresh/server.ts";
import { getCookies } from "std/http/cookie.ts";

export default function Home() {
  return (
    <div>
      Here is some secret
    </div>
  );
}

export const handler: Handlers = {
  GET(req, ctx) {
    const cookies = getCookies(req.headers);
    if (cookies.auth === "bar") {
      return ctx.render!();
    } else {
      const url = new URL(req.url);
      url.pathname = "/";
      return Response.redirect(url);
    }
  },
};
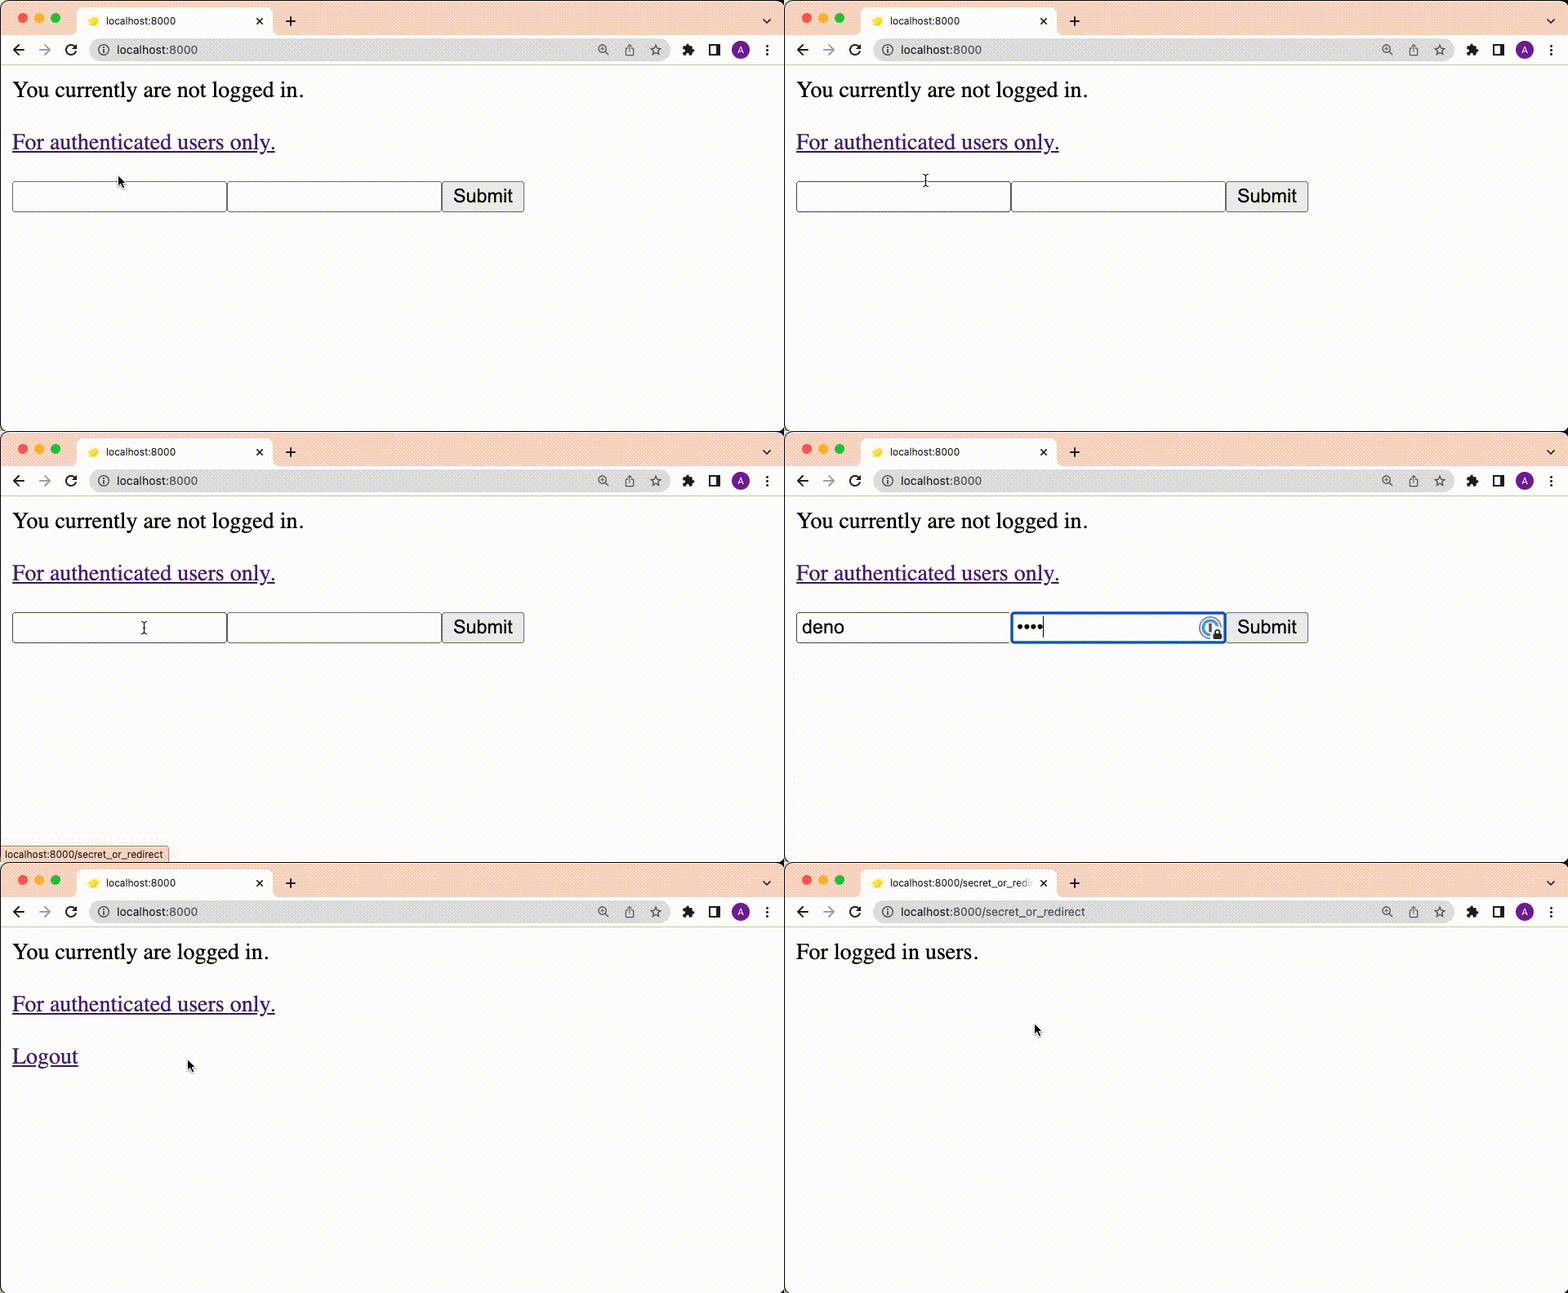
成功!
或者,如果您不想重定向用户,而只想在用户通过身份验证时显示秘密内容
import type { Handlers, PageProps } from "$fresh/server.ts";
import { getCookies } from "std/http/cookie.ts";

interface Data {
  isAllowed: boolean;
}

export default function Home({ data }: PageProps<Data>) {
  return (
    <div>
      {data.isAllowed ? "Here is some secret" : "You are not allowed here"}
    </div>
  );
}

export const handler: Handlers<Data> = {
  GET(req, ctx) {
    const cookies = getCookies(req.headers);

    return ctx.render!({ isAllowed: cookies.auth === "bar" });
  },
};
下一步是什么
这是一个将身份验证添加到 Fresh 应用程序的骨架指南。有很多方法可以使其更具生产就绪性,我们计划在未来的帖子中探讨
- 在
/routes/api/login.ts中添加更强大的身份验证策略 - 使用唯一值使 cookie 和会话管理更安全
- 使用持久数据存储,如用于用户账户的MongoDB,或用于会话管理的 Redis
希望这篇文章对您有所帮助!
遇到问题?请在 Twitter 或 我们的 Discord 中提出关于 Fresh 和 Deno 的问题。

